¶ Exporting Ahoge from Maya to Unreal Engine
To prepare the Ahoge hair for export to the Unreal Engine, you need to divide the hairstyle into logical groups. This makes it easier to set up the hair and assign dynamics within the Unreal Engine. For example, if you have a ponytail hairstyle, the hair on the head can be group 1, and the ponytail itself group 2. If there is a fringe (bangs), it can be assigned to group 3.
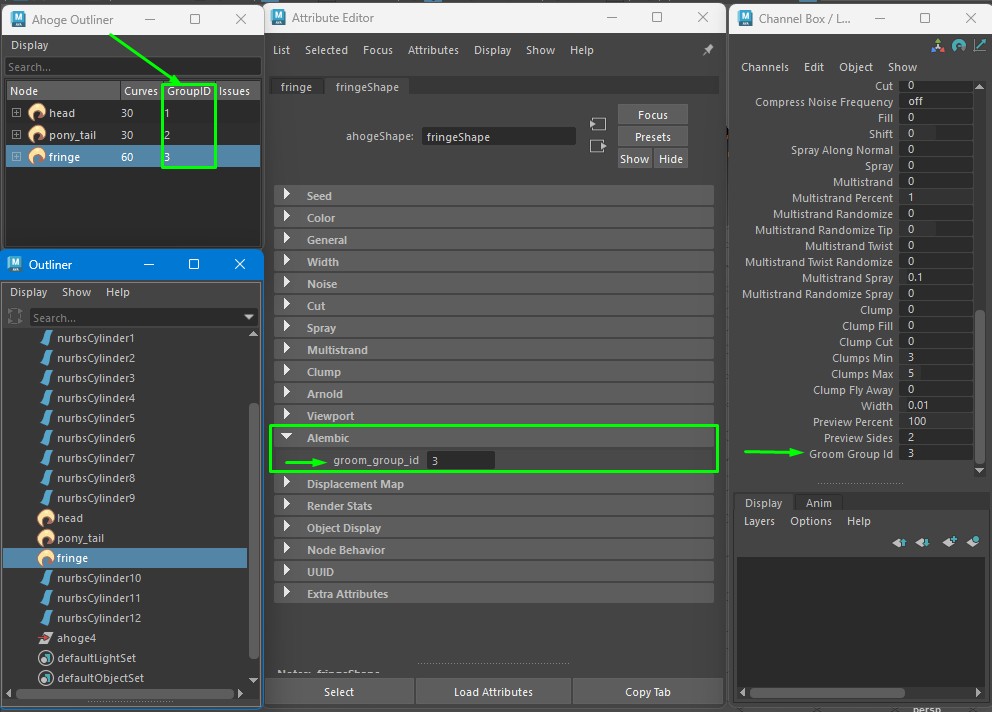
To assign a group number to the Ahoge node, scroll down the attributes to the Alembic section and specify the group number. If you open the Ahoge Outliner, you will see the group number for that node in the column to the right of the Ahoge node's name.
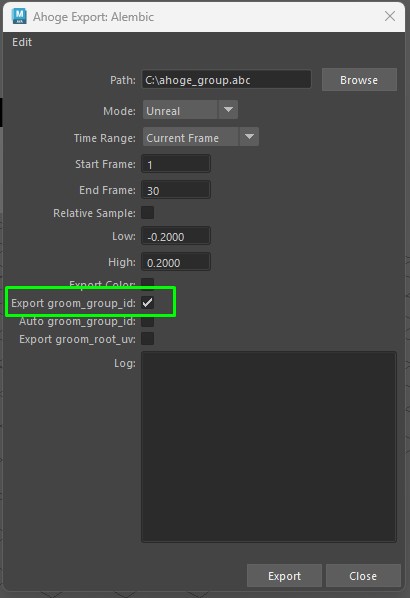
To export the assigned groups to Alembic, select the "Export_groom_group_id" option in the Alembic export settings for Unreal Engine.
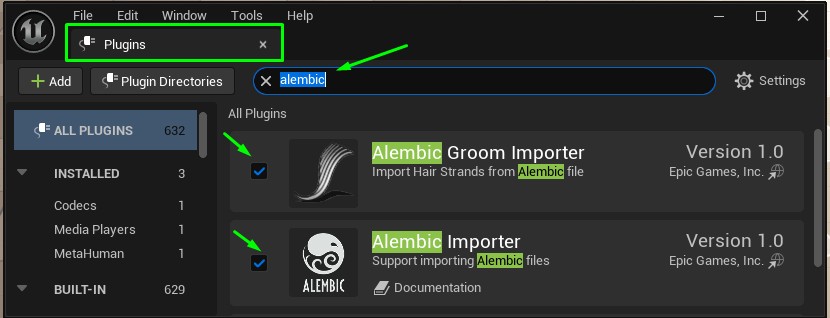
Now, let's switch to the Unreal Engine and enable all plugins for importing hair from Alembic.
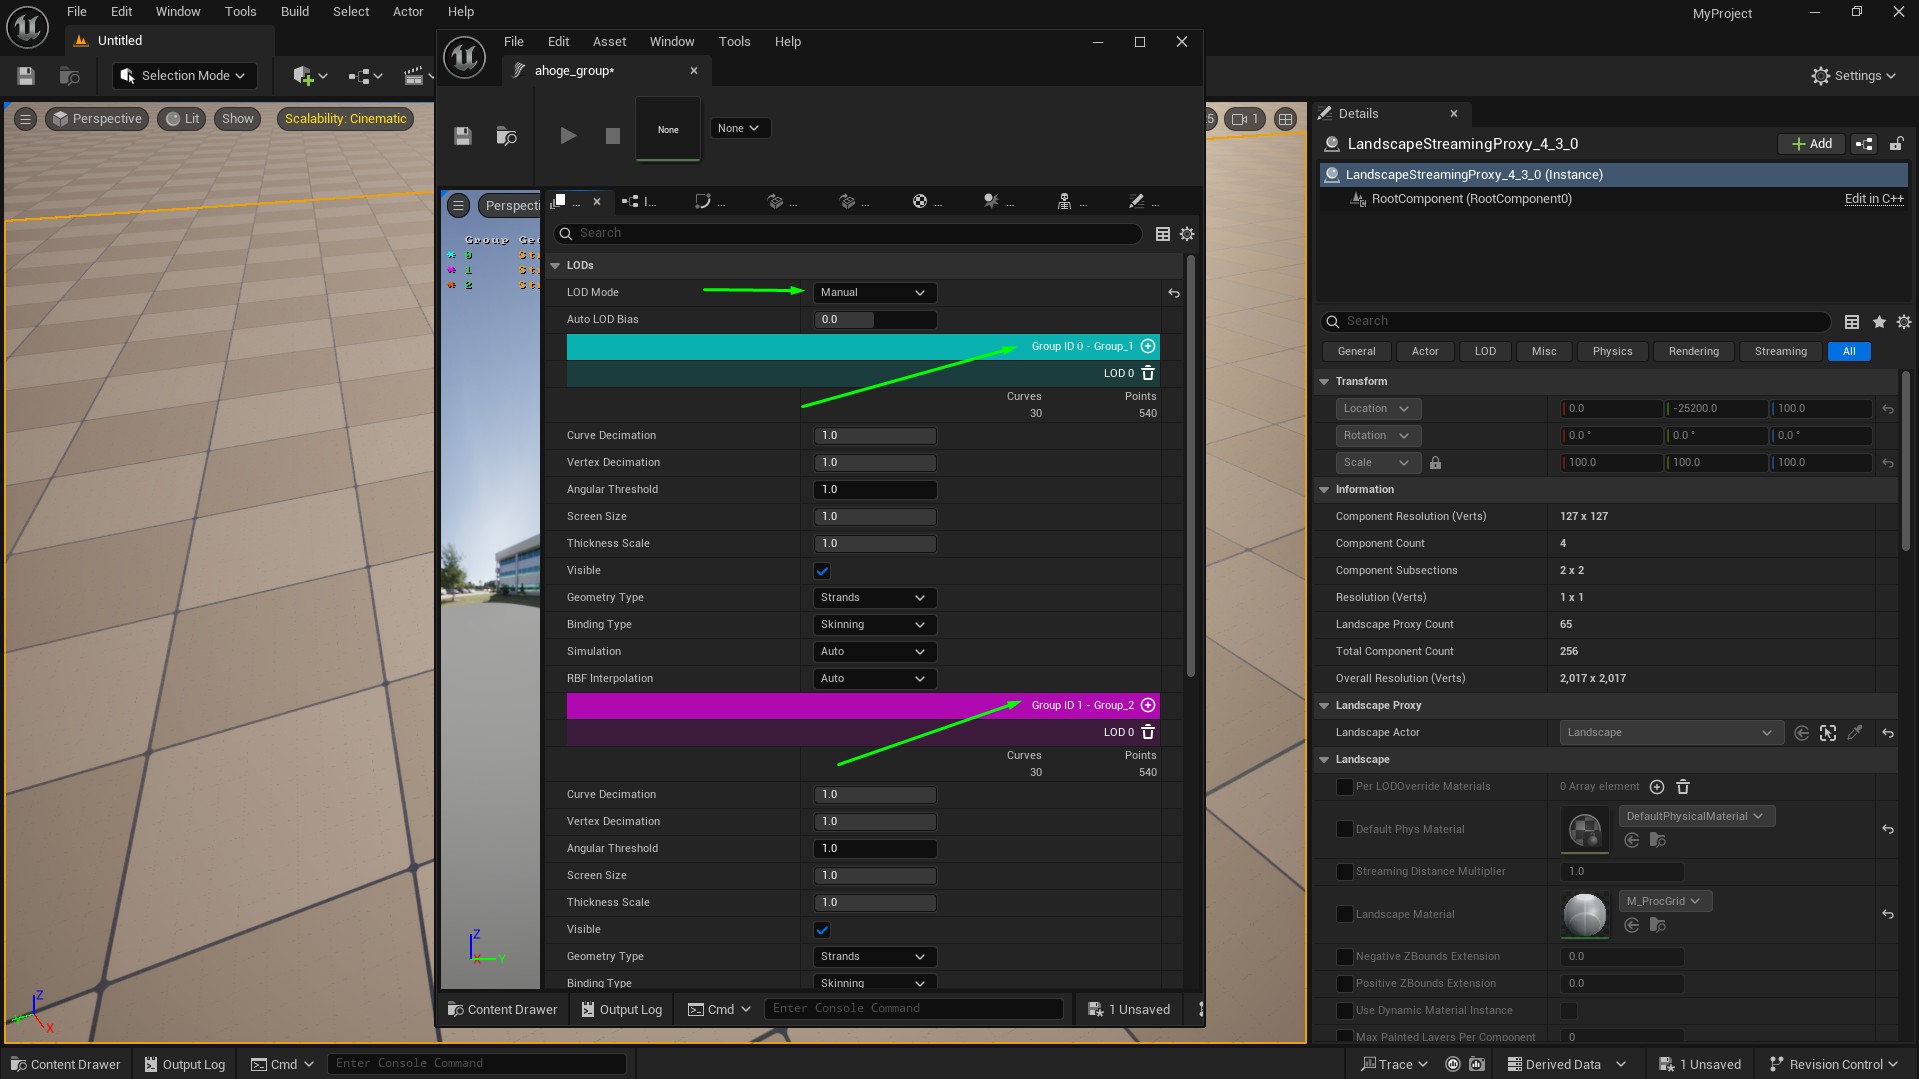
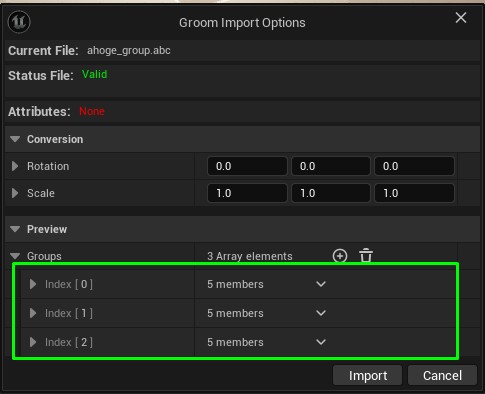
Next, drag and drop the Alembic file into the Unreal Engine window. In the import menu, you'll see that hair groups have been created.
Once the hair asset appear in the Content Drawer, you can drag them into the scene. To view the hair settings in more detail, double-click on the hair asset in the Content Drawer. To prevent the hair from disappearing when the camera moves away, switch the "LOD Mode" from "Default" to "Manual".